Time Card Manager
The Time Card Manager enables managers to review and manage employee shifts in an easy to use grid interface.
Contents
Interface
Launch the Time Card Manager from the Time & Attendance group.

After launching the Time Card Manager, select the range of dates to display by setting the Start and End dates in the Filters (outlined in purple) at the bottom of the form.
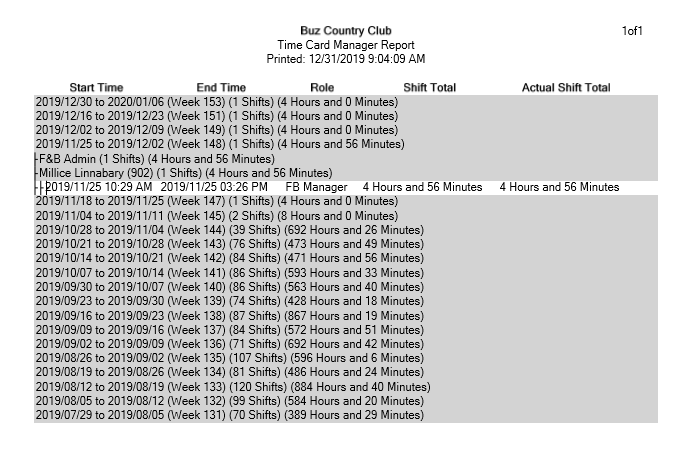
Shift Listing
For each pay week, there will be a band which shows (outlined in red in image above):
- Start date
- End date
- Week #
- Number of shifts
- Total hours and minutes
By clicking on the + sign beside a pay week, a list of Security Groups (departments) will appear and for each will display (outlined in blue in the image above)
- Number of shifts
- Total hours and minutes
By clicking the + beside the Security group, a list of employees who worked (example outlined in green above) will display:
- Employee name
- Employee number (username)
- Number of Shits
- Total hours and minutes
By clicking the + sign beside an employee (outlined in orange above), will be a detailed list of each shift for the employee:
- Start Time (date and time)
- End Time (date and time)
- Role
- Shift Total in hours and minutes
- Actual Shift Total in hours and minutes (based on Short Shift Threshold)
Manage Time Cards
Filters (outlined in purple)
You may filter your search results using the following parameters:
- All shifts
- Currently open shifts
- Shifts started today
- Shifts ended today
- Employee names
- Start and End period
- Role
Modify Shifts (outlined in blue)
Modify shifts supports
- Add Shift
- Delete Shift
- End Open Shift
- Modify Shift
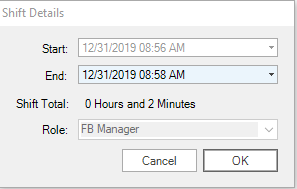
Add Shift
To add a shift for a specific staff member, select the name of the person from the Employee drop down menu. Click on Add Shift.

Fill out the information in the Shift Details window and click OK to save.
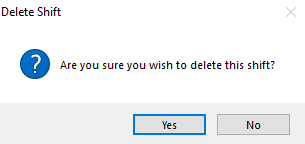
Delete Shift
To delete a shift, select an existing shift from your search results and click on Delete Shift. A dialogue box will prompt you to confirm your decision.
End Open Shift
To end an open shift, select an existing open shift from your search results and click on End Open Shift.
Set the End Time and click OK to save changes.
Modify Shift
To modify a shift, select an existing shift from your search results and click on Modify Shift.

Make necessary changes and click OK to save.
Clicking Print will print the current view of the time card list.